
No feia temps ni res que volia posar en pràctica aquesta tècnica per estampar samarretes amb plastidecors!!!!

Fa més d'un any que la Marta de 2nd Funniest Thing la va ensenyar al programa de TV3 Ja t'ho faràs, i encara no havia trobat el moment.
Més senzilla no pot ser i els resultats m'han encantat! No us sembla que el body que li he fet a en Guim ha quedat xulíssim??

Us he de dir que el que més m'ha costat ha estat triar el disseny a estampar. Primer vaig estar pensant en usar alguna font tipus Dingbat com aquestes:

Però quan vaig ensopegar amb la sèrie de samarretes dissenyades per Oana Befort, ho vaig veure claríssim! Trobareu la plantilla de l'ós aquí, però no deixeu de veure la resta de la sèrie al seu blog, cadascuna feta amb una tècnica diferent.
I aquí us deixo el vídeo amb el tutorial (a partir del minut 6'36''), per si us animeu!
Gràcies per la visita!
-----
You won't believe how long I've been waiting to try this technique!!!
I saw the tutorial from 2nd Funniest Thing on a local TV crafts show more than one year ago, and it became cristal clear I was going to try it someday.
The hardest part has been choosing the design to print. From then on, it's a super easy DIY, ideal to do with your kids this summer.

I was wondering to use some Dingbat font as a stencil (like the ones above), until I saw the Kiddo Tee Series from Oana Befort... Gorgeous hand-made T-shirts with incredible free printables (for personal use only). You'll find the bear printable here.
The video-tutorial here is in Catalan, but you'll be able to follow it anyway (from minute 6'36''), because of the simplicity of this DIY:
- Choose a design and cut out the parts you wan't to transfer to the T-shirt.
- Sharpen some hard wax crayons in your desired colors.
- Place a newspaper between both sides of your T-shirt, put the stencil on top of it and fill with crayon shavings.
- Place a baking paper over it, and iron until crayons melt. Remove baking paper carefully and you're done!
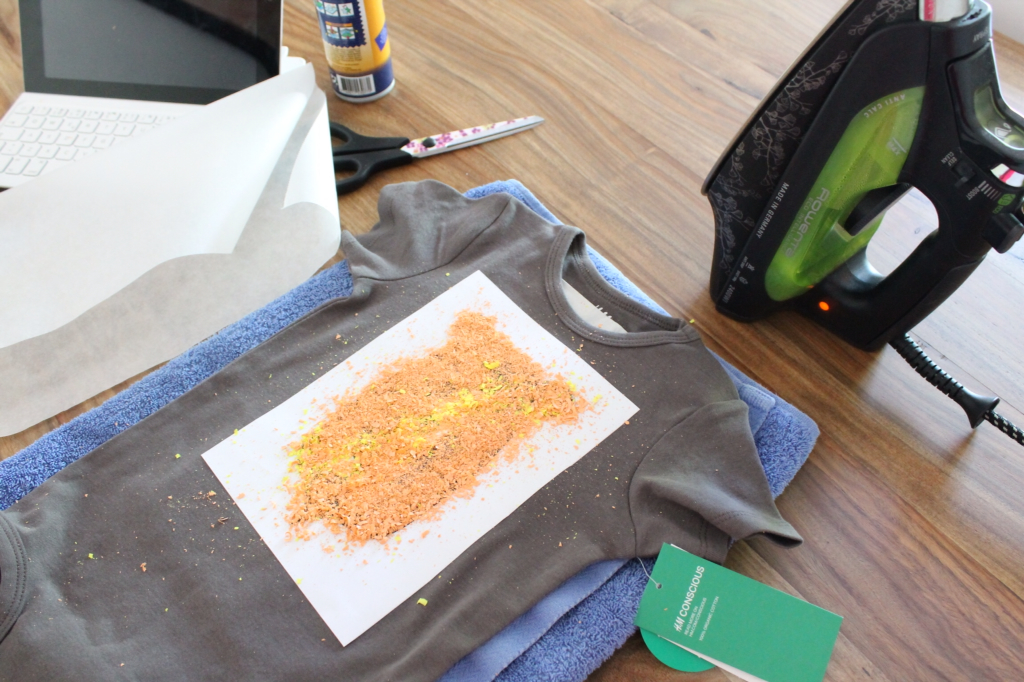
Don't you love how the onesie I printed for my son ended up??
Thanks for your visit!
Xulíssima!!!! Molt gran aquesta samarra :))))
ResponEliminaGràcies!!!!! :)))
EliminaNi t'imagines com l'hem aprofitat!!!!
L'autor ha eliminat aquest comentari.
Elimina